The four Essential Elements of Successful DIY Graffiti Removal:
READ THIS Before Starting a Graffiti Removal Project!
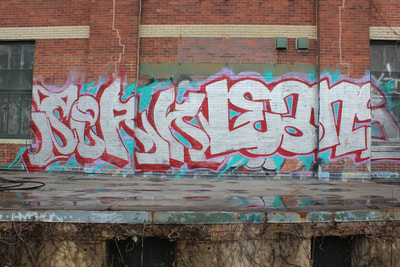
Graffiti Removal Tool Tip Overview: Four Essential Elements of Graffiti Removal include Chemical Strength, Dwell Time, Abrasion, and Temperature. It's important to understand these four variables to maximize successful graffiti removal outcomes. These elements work together. If one is increased, the others can decrease. For example, the heat from a hot water pressure washer increases effectiveness so that you can achieve good results with a shorter dwell time, less abrasion and milder graffiti remover. If you are working without access to a pressure washer, increase dwell time and abrasion to increase graffiti removal effectiveness.
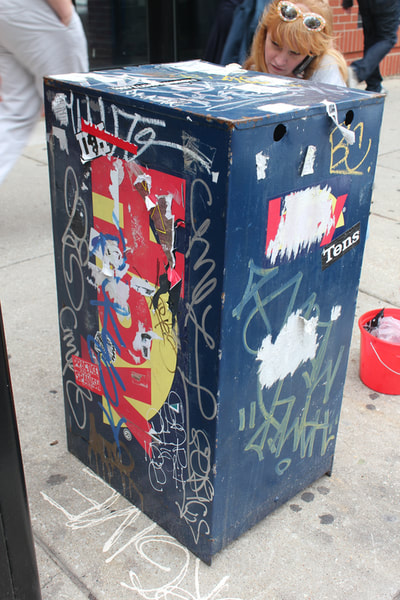
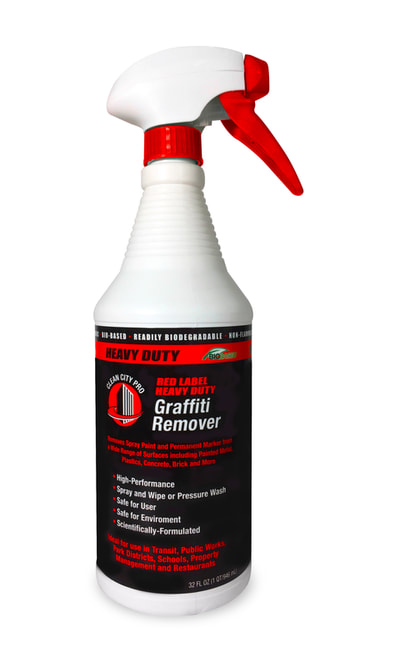
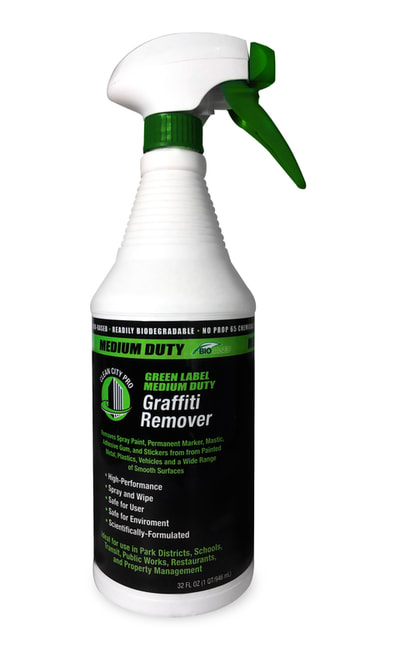
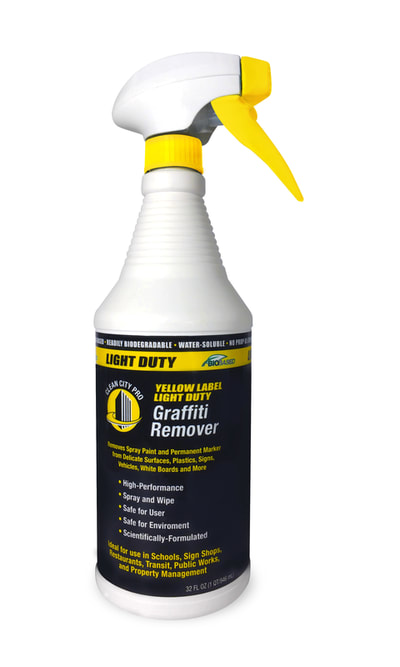
Graffiti Removal Tool Tip #1: Graffiti Remover Chemical Strength range from strong to mild. Its important to match strength to the surface you are attempting to clean. Heavy duty graffiti removers are designed for non-sensitive surfaces such as brick, concrete and stone. Medium duty graffiti removers are designed for surfaces such as plastics and painted surfaces. Light duty graffiti removers are designed for delicate surfaces such as murals and white boards.
You can think about graffiti removal strengths as cooking heat on a grill. Too high a heat and you will overcook you burgers. Too low a heat and it will take hours to cook through. Too strong a solvent can result in damage to the underlying substrate. Too mild a solvent will result in the removal being very slow or non-effective.
Graffiti Removal Tool Tip #2: Dwell Time plays a central role in graffiti removal. The longer the dwell time, the more effectively the graffiti removal solvent can soften and dissolve the graffiti tag paint. Different graffiti tags "break" at different times based on the type of paint that was used, the thickness of the tag, and the surface that was graffiti tagged. A graffiti removal gel is designed to cling to a vertical surface, reduce dripping, and provide a longer dwell time. In some cases, graffiti tags break quickly, within 30 seconds or a minute or two. In other cases, the tags can take 15 or 20 minutes or even longer. Warmer ambient temperatures, some abrasion during the dwell time, a application of additional graffiti remover during the dwell time can increase effectiveness and decrease the length of the dwell time.
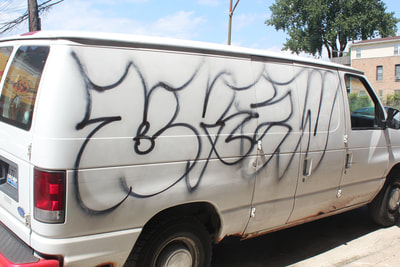
Graffiti Removal Tool Tip #3: Abrasion typically plays a central role in graffiti removal. A scrub with a stiff brush during dwell time can increase effectiveness as it can help to move lose graffiti paint pigment aside to allow graffiti removal solvent to come into contact with the graffiti paint pigment underneath and soften its bond.
A pressure washer is an ideal tool as it provides both micro-abrasion and rinsing in one step. If a fan tip nozzle is used, damage to the substrate can be avoided. In some cases, graffiti removal techniques rely heavily on abrasion or scrubbing, such as sand blasting or soda blasting, essentially a gritty medium grinds away at the surface to remove the graffiti tag. In other cases, abrasion is not used at all preferring a chemical solvent and a long, typically overnight dwell time. Not surprisingly, the best solution is a combination.
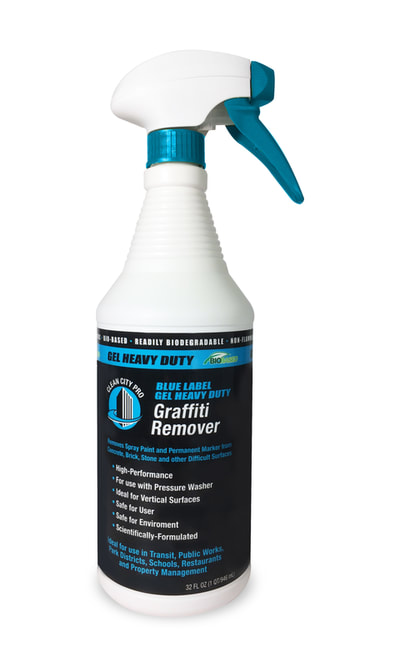
Graffiti Removal Tool Tip #4: Temperature plays an important role in graffiti removal. The warmer it is, the faster the graffiti removal can happen. Molecules move quickly when its warm and slowly when its cold. In summer months, dwell times are noticeably faster than dwell times in winter months. In colder temperatures, the sunlight on surface can help. Also, in winter months, hot water in the pressure washer can make a significant improvement to effectiveness. A hot water pressure washer is an expensive piece of equipment, but consumer grade pressure washers can source hot waer by attaching to a utility sink with a threaded faucet or a hot water heater. Hot water is a must for washing laundry and your dishes, same principles apply to graffiti, especially when attempting cold weather graffiti removal. Clean City Pro Red, Clean City Pro Blue and Clean City Pro Green Label can be used in cold temperatures as they will not freeze. The can also be used in hot temperatures as they do not have a fast drying alcohol composition.
Graffiti Removal Tool Tip #1: Graffiti Remover Chemical Strength range from strong to mild. Its important to match strength to the surface you are attempting to clean. Heavy duty graffiti removers are designed for non-sensitive surfaces such as brick, concrete and stone. Medium duty graffiti removers are designed for surfaces such as plastics and painted surfaces. Light duty graffiti removers are designed for delicate surfaces such as murals and white boards.
You can think about graffiti removal strengths as cooking heat on a grill. Too high a heat and you will overcook you burgers. Too low a heat and it will take hours to cook through. Too strong a solvent can result in damage to the underlying substrate. Too mild a solvent will result in the removal being very slow or non-effective.
Graffiti Removal Tool Tip #2: Dwell Time plays a central role in graffiti removal. The longer the dwell time, the more effectively the graffiti removal solvent can soften and dissolve the graffiti tag paint. Different graffiti tags "break" at different times based on the type of paint that was used, the thickness of the tag, and the surface that was graffiti tagged. A graffiti removal gel is designed to cling to a vertical surface, reduce dripping, and provide a longer dwell time. In some cases, graffiti tags break quickly, within 30 seconds or a minute or two. In other cases, the tags can take 15 or 20 minutes or even longer. Warmer ambient temperatures, some abrasion during the dwell time, a application of additional graffiti remover during the dwell time can increase effectiveness and decrease the length of the dwell time.
Graffiti Removal Tool Tip #3: Abrasion typically plays a central role in graffiti removal. A scrub with a stiff brush during dwell time can increase effectiveness as it can help to move lose graffiti paint pigment aside to allow graffiti removal solvent to come into contact with the graffiti paint pigment underneath and soften its bond.
A pressure washer is an ideal tool as it provides both micro-abrasion and rinsing in one step. If a fan tip nozzle is used, damage to the substrate can be avoided. In some cases, graffiti removal techniques rely heavily on abrasion or scrubbing, such as sand blasting or soda blasting, essentially a gritty medium grinds away at the surface to remove the graffiti tag. In other cases, abrasion is not used at all preferring a chemical solvent and a long, typically overnight dwell time. Not surprisingly, the best solution is a combination.
Graffiti Removal Tool Tip #4: Temperature plays an important role in graffiti removal. The warmer it is, the faster the graffiti removal can happen. Molecules move quickly when its warm and slowly when its cold. In summer months, dwell times are noticeably faster than dwell times in winter months. In colder temperatures, the sunlight on surface can help. Also, in winter months, hot water in the pressure washer can make a significant improvement to effectiveness. A hot water pressure washer is an expensive piece of equipment, but consumer grade pressure washers can source hot waer by attaching to a utility sink with a threaded faucet or a hot water heater. Hot water is a must for washing laundry and your dishes, same principles apply to graffiti, especially when attempting cold weather graffiti removal. Clean City Pro Red, Clean City Pro Blue and Clean City Pro Green Label can be used in cold temperatures as they will not freeze. The can also be used in hot temperatures as they do not have a fast drying alcohol composition.
Ready to order?

Five Simple Steps to Remover Graffiti from a Painted Metal Surfaces such as newspaper box, bus bench, utility door, fence post, or mail box.
Step 1: Spray Clean City Pro Red Label Graffiti Remover or Clean City Pro Green Label Graffiti Remover
Step 2: Allow short dwell time of 10 to 30 seconds
Step 3: Swirl gently with mild scouring pad
Step 4: Wipe surface clean with dry, absorbent rag.
Step 5: For the best results, rinse with water or wipe down with wet rag.
